Calibration frames are short "reference" exposures — darks, flats, bias, and dark flats — that you shoot alongside your real images and subtract during processing. They map the noise, dust, and vignetting your camera and telescope add to every frame, so stacking software can remove those flaws and leave clean signal from the night sky.
If your stacked astrophotos show a bright glow in one corner, doughnut-shaped dust shadows, or a peppering of stubborn colored dots, you are looking at problems that calibration frames are built to fix. Every camera sensor and every optical train stamps its own fingerprint onto your images. Calibration frames record that fingerprint on purpose, so it can be mathematically removed from your light frames — the actual pictures of galaxies, nebulae, and star clusters.
This guide explains what each type of calibration frame does, why they matter, exactly how to capture them, how many to shoot, and how they are applied when you stack. It is written for beginners, but the workflow at the end is the same one we run on a remote rig under the dark skies of Chile.
What Are Calibration Frames?
A calibration frame is an exposure whose only job is to measure an unwanted signal — not to capture the target. Your real images are called light frames. Every light frame contains three things mixed together: the faint light of your deep-sky target, random noise, and a set of repeatable errors introduced by your equipment.
Calibration frames isolate those repeatable errors. Because the same sensor produces the same thermal pattern, and the same optics cast the same shadows, you can photograph those defects separately and tell your stacking software to strip them out. The result is a cleaner image with a smoother background, more visible faint detail, and far less color blotching.
There are four common types, and each one targets a different flaw:
- Dark frames remove thermal noise, amp glow, and hot pixels.
- Flat frames remove vignetting, dust shadows, and uneven illumination.
- Bias frames remove the sensor's baseline read signal (the electronic "offset").
- Dark flats calibrate your flat frames, and often replace bias frames on modern cameras.
Think of them as four different erasers, each shaped to rub out one specific smudge.
The Four Types of Calibration Frames
Dark Frames
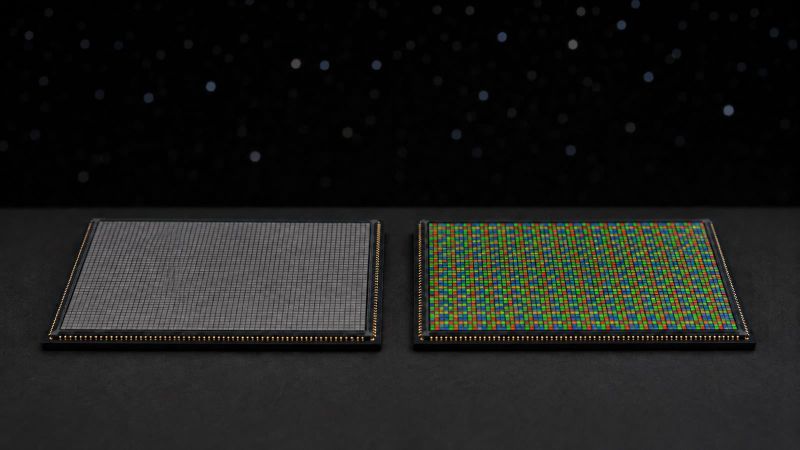
Dark frames capture the signal your sensor produces from heat alone, with no light reaching it at all. Over a long exposure, the sensor slowly accumulates a thermal charge called dark current, plus fixed patterns like amp glow (a bright haze near the sensor edge) and hot pixels (individual pixels stuck bright). A dark frame records exactly that pattern so it can be subtracted from every light frame.
You shoot darks with the telescope capped or the camera covered, using the same exposure time, gain/ISO, and temperature as your light frames. That matching is the whole game: a dark frame only cancels the thermal signal it was built to match.
Flat Frames
Flat frames record how evenly — or unevenly — light reaches your sensor. Two things distort that: vignetting (the corners of the frame are darker than the center because of the optics) and dust motes (specks on the sensor window or filters that cast soft, doughnut-shaped shadows). A flat frame is an image of a perfectly even, featureless light source, so those shadows and the vignette stand out clearly.
During processing, the software divides your light frames by the flat, brightening the dark corners and erasing the dust doughnuts. Flats are the single most transformative calibration frame for wide-field and fast-optics setups, where vignetting is strongest.
Bias Frames
A bias frame captures the sensor's electronic starting point — the small, consistent signal present even in a zero-length exposure. Every time a camera reads out, it adds a fixed offset and a dose of read noise. Bias frames map that offset so it can be removed, and they are especially important for scaling darks and calibrating flats correctly.
You take bias frames with the shortest exposure your camera allows, cap on, at your imaging gain. They are the fastest calibration frames to shoot — a set takes a couple of minutes.
Dark Flats
Dark flats are simply dark frames matched to your flat exposure time instead of your light exposure time. They remove the sensor signal that sneaks into your flats. On many modern CMOS cameras, dark flats are preferred over bias frames because some CMOS sensors handle very short bias exposures poorly. If you shoot with a cooled CMOS camera, dark flats are usually the safer choice.
The rule of thumb: CCD and DSLR workflows lean on bias frames; cooled CMOS workflows often use dark flats instead. You rarely need both.
Why Calibration Frames Matter
Astrophotography is a battle between signal and noise. The light from a distant galaxy is astonishingly faint, so we stretch our images hard in processing to reveal it. That same stretch magnifies every flaw — a gentle vignette becomes an ugly gradient, a few hot pixels become distracting colored stars, and sensor amp glow turns into a bright bruise in the corner.
Calibration removes those flaws before the stretch, so you can push the faint detail without amplifying junk. Skipping calibration is the most common reason a beginner's stacked image looks worse than a single sub-exposure: stacking without calibration piles the fixed patterns on top of each other until they dominate.
Good calibration also lets you use shorter individual exposures and more of them, because it cleans up the read noise and thermal signal that would otherwise punish you for stacking many frames. If you are still choosing exposure lengths, our ideal sub-exposure calculator pairs naturally with a solid calibration routine.
How to Shoot Each Type of Calibration Frame
How to Take Dark Frames
Cap the telescope so no light reaches the sensor. Set the exact same exposure time, gain/ISO, and — for cooled cameras — sensor temperature as your lights. Shoot a set of 20 to 50 frames. With a set-point cooled camera you can build a reusable dark library at fixed temperatures (for example −10 °C) and reuse it for months. DSLR shooters should capture darks the same night, at similar ambient temperature, because uncooled sensors drift with the air.
How to Take Flat Frames
Flats must be shot through the exact same optical train as your lights — same focus, same camera rotation, same filters, with the dust exactly where it was. Do not refocus or rotate the camera between lights and flats. Point the scope at an even light source: a dedicated flat panel, a tablet screen, or the twilight sky. Aim for a mid-range brightness, roughly one-third to one-half of your sensor's maximum value (around 20,000–30,000 ADU on a 16-bit camera). Most cameras let you shoot flats in an automatic exposure mode that finds this level for you. Capture 20 to 50 flats.
How to Take Bias Frames
Keep the cap on, set the shortest possible exposure (often 1/4000 s or the camera's minimum), and match your imaging gain. Temperature barely matters for bias, so these are easy. Shoot 50 to 100 frames — they are quick, and more of them makes a cleaner master.
How to Take Dark Flats
Cap the scope and shoot frames at the same exposure time as your flats, at the same gain and temperature. If your flats were 2-second exposures, your dark flats are 2-second dark exposures. Capture 20 to 50. These replace bias frames in a CMOS workflow.
How Many Calibration Frames Should You Shoot?
More frames make a smoother "master," because averaging many exposures cancels the random noise inside the calibration frames themselves. Here is a practical starting point:
| Frame type | Typical count | Matches your lights by |
|---|---|---|
| Dark frames | 20–50 | Exposure, gain, temperature |
| Flat frames | 20–50 | Optical train, focus, rotation |
| Bias frames | 50–100 | Gain |
| Dark flats | 20–50 | Flat exposure, gain, temperature |
If you only have time for one type, shoot flats — they fix the most visible problems. If you can do two, add darks. The rest refine the result.
How Calibration Frames Are Applied in Stacking
You never subtract raw calibration frames one at a time. Instead, your stacking software (DeepSkyStacker, Siril, PixInsight, N.I.N.A., and others) first averages each set into a single low-noise master frame: a master dark, master flat, and master bias or master dark flat.
Then, for every light frame, it performs the two standard operations of image calibration — dark-frame subtraction and flat-field correction — roughly like this:
- Subtract the master dark from the light frame (removes thermal signal, amp glow, hot pixels).
- Subtract the master bias or dark flat from the master flat (cleans the flat itself).
- Divide the dark-subtracted light by that cleaned, normalized master flat (removes vignetting and dust).
The output is a calibrated light frame. Once all your lights are calibrated, the software aligns and stacks them into a single deep image. Calibration happens first; stacking happens second. A dedicated stacking guide is on the way to cover that second half in depth — for now, our Astrophotography Fundamentals hub collects the surrounding skills.
Common Calibration Mistakes to Avoid
Most calibration failures come from a mismatch between calibration frames and light frames. Watch for these:
- Refocusing or rotating between lights and flats. This shifts the dust and vignette, so the flat no longer matches. Shoot flats before you break down the imaging train.
- Temperature drift on darks. An uncooled sensor that warms up produces a different dark pattern than your lights. Match temperature, or use a cooled camera with a set point.
- Light leaks in darks or bias. Stray light through the eyepiece port or a loose cap ruins darks. Cap thoroughly and shoot indoors or at night.
- Flats that are too bright or too dark. Overexposed flats clip and under-correct; aim for the mid-range ADU target.
- Mixing gain or ISO settings. Calibration frames must match the gain/ISO of the lights they calibrate.
Getting focus locked before you start also prevents a cascade of these problems; our guide to focusing and the critical focus zone calculator help you nail it and leave it alone for the session.
A Real-World Calibration Workflow
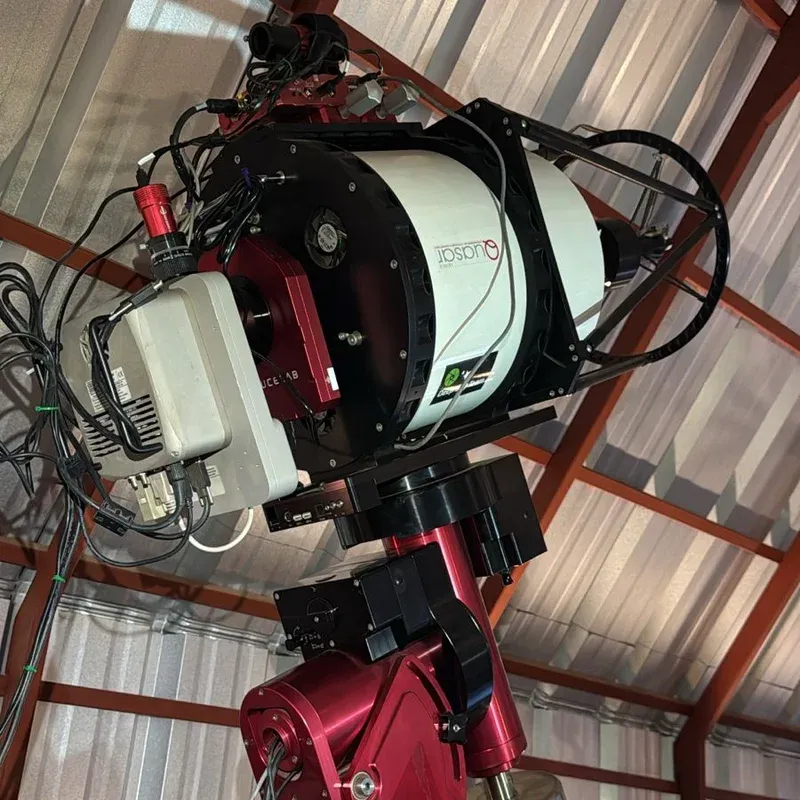
On our remote rig at Deepsky Chile — an Alluna 12.5-inch Ritchey–Chrétien on a Paramount MX+ mount, with an SBIG STL-11000 camera — calibration is built into every project because we cannot walk out and cover the scope on demand. That constraint makes a disciplined routine essential, and it maps directly to what a beginner should do:
- Master dark library: because the STL-11000 is a set-point cooled camera, we keep a library of master darks at fixed temperatures and matched exposure times, and reuse them across nights. A cooled CMOS camera lets you do exactly the same thing at home.
- Flats every configuration change: any time filters, focus, or camera angle change, fresh flats follow. Dust moves; the flat has to move with it.
- Bias and dark flats to anchor the flats: a clean flat needs its own calibration, so those short frames get refreshed with the flat library.
The lesson for a beginner is simple: flats are tied to a session; darks and bias can be reused as long as your temperature, gain, and exposure settings stay the same. Build a dark library once, refresh flats often, and your stacks will improve immediately.
Frequently Asked Questions
Do I really need calibration frames for astrophotography?
For single snapshots, no. But the moment you stack multiple exposures to reveal faint detail — which is the heart of deep-sky astrophotography — calibration frames dramatically improve the result. At minimum, shoot flats to remove vignetting and dust, then add darks to remove thermal noise.
What is the difference between dark frames and bias frames?
Dark frames match your full light exposure time and capture thermal signal that builds up over a long exposure, including amp glow and hot pixels. Bias frames use the shortest possible exposure and capture only the sensor's fixed electronic offset and read noise. Darks include the bias signal; bias frames isolate it.
Do I need bias frames or dark flats?
Usually one or the other, not both. CCD and DSLR workflows traditionally use bias frames. Cooled CMOS cameras often work better with dark flats, because some CMOS sensors behave poorly at the ultra-short exposures bias frames require. Check your camera's recommendation and pick one.
Can I reuse calibration frames on different nights?
Darks and bias frames are reusable as long as your exposure time, gain/ISO, and sensor temperature stay the same — this is why a dark library is so useful with a cooled camera. Flats are not reusable across sessions, because dust shifts and the optical train changes; shoot fresh flats whenever your configuration changes.
What ADU should flat frames target?
Aim for a mid-range exposure, roughly one-third to one-half of your sensor's maximum value — about 20,000 to 30,000 ADU on a typical 16-bit camera. Too bright and the flat clips; too dark and it adds noise instead of removing it. Many capture programs have an automatic flat mode that finds this level for you.
Putting It All Together
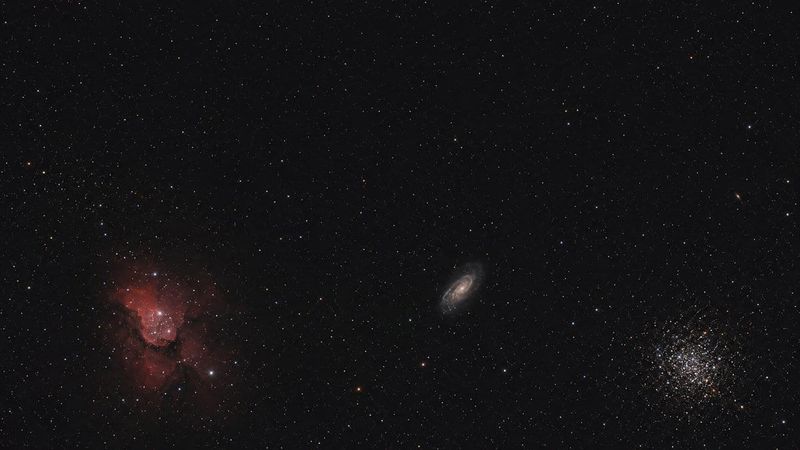
Calibration frames are the difference between a muddy, blotchy stack and a clean image that can be stretched hard to reveal faint nebulosity. Start with flats to erase vignetting and dust, add darks to kill thermal noise and hot pixels, and finish with bias frames or dark flats to anchor the math. Match every calibration frame to your lights — in exposure, gain, temperature, and optical configuration — and your stacking software will do the rest.
Once your calibration routine is solid, the next step is learning how those calibrated frames are aligned and combined. Explore the rest of the Astrophotography Fundamentals series to build the full processing workflow from capture to finished image.