Polar alignment is the process of tilting an equatorial telescope mount so its rotation axis points exactly at the celestial pole — the spot the entire sky appears to turn around. Get it right and your mount tracks the stars with a single slow motion, giving you sharp, trail-free long exposures. Get it wrong and your stars streak.
If you are just starting out in astrophotography, polar alignment is the first real skill you have to master. Everything else — focusing, autoguiding, framing, stacking — depends on a mount that tracks the sky accurately, and a mount can only do that when it is pointed at the pole. This beginner's guide walks through what polar alignment is, why it matters, exactly how accurate it needs to be, and the four most common ways to do it in 2026, from a simple polar scope to fully automated all-sky routines.
What this guide covers
What is polar alignment?
Polar alignment is aiming the right-ascension (RA) axis of an equatorial mount at the celestial pole. Because Earth spins on its axis, the night sky looks like it rotates once a day around two fixed points — the north and south celestial poles. The north celestial pole sits very close to the star Polaris; the southern one has no bright marker.
An equatorial mount is built to cancel out that rotation. When its RA axis is parallel to Earth's axis — that is, pointed at the pole — the mount only has to turn slowly in one direction, at the same rate as the sky, to keep a target locked in place. That is the whole game: align the axis with the pole, and a single motor motion tracks the stars all night.

Why polar alignment matters for astrophotography
Poor polar alignment causes two problems, and both ruin photos. The first is tracking drift: if the axis is off by even a small angle, the mount slowly pushes your target out of frame over a few minutes, so stars become short streaks instead of points. The second is field rotation: the whole frame slowly twists around the guide star, so the centre stays sharp while stars at the edges smear into arcs — the classic sign of a mount that is guiding well but aligned badly.
This is why polar alignment is non-negotiable for long-exposure deep-sky work. The longer your sub-exposures and the longer your focal length, the less misalignment you can get away with. (If you are still deciding how long each frame should be, our ideal sub-exposure calculator helps you find the sweet spot for your sky and camera.) Short, wide-field shots on a star tracker are forgiving; long galaxy exposures at 1,000 mm are not.
How accurate does polar alignment need to be?
For unguided imaging, aim for polar alignment within about 5 arcminutes of the pole for short focal lengths, and under 1–2 arcminutes for longer focal lengths. If you autoguide, the requirement relaxes for tracking but not for field rotation — most imagers target under 1 arcminute of total error to keep edge stars round on long integrations.
The reason the target tightens with focal length is image scale: a long scope spreads a tiny patch of sky across many pixels, so the same drift in arcseconds moves a star across more pixels. If that idea is new, our explainer on image scale in arcseconds per pixel shows how your scope and camera decide how picky you have to be. As a rule of thumb: wide-field beginners can be a little loose, but anyone shooting galaxies or planetary nebulae should chase that sub-arcminute number.
What you need before you start
- An equatorial mount. Alt-azimuth mounts and Dobsonians cannot be polar aligned — you need a German equatorial mount (GEM), a star tracker, or a fork mount on an equatorial wedge. See our complete guide to telescope mounts if you are not sure what you have.
- A level tripod. Levelling is not strictly required for accuracy, but it makes every polar-scope routine behave predictably and keeps your altitude and azimuth adjustments independent.
- Your latitude. Set the mount's altitude scale to your latitude as a starting point. A phone GPS or map app gives you this instantly.
- A clear view toward the pole. In the north that means a sightline to Polaris; in the south, toward the constellation Octans.
- A polar-alignment app (optional). Free tools like Polar Scope Align or PS Align Pro show exactly where Polaris should sit in your polar scope's reticle for the current date and time.
How to find the celestial pole
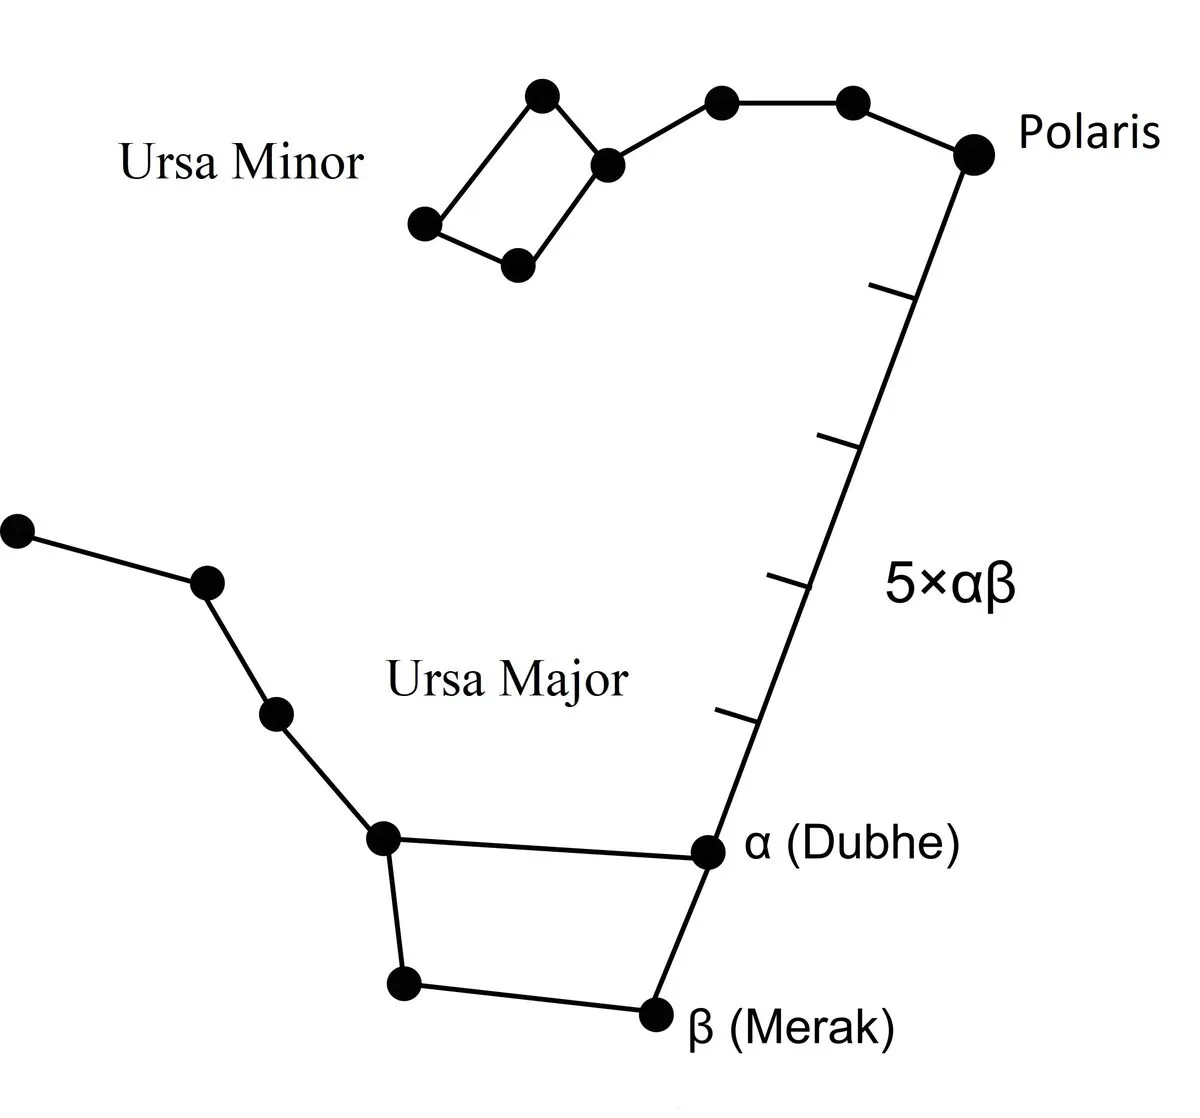
In the Northern Hemisphere, start by finding Polaris, the North Star. The easiest way is the Big Dipper: locate the two stars at the end of its bowl — Dubhe and Merak, the "pointer stars" — and follow the line they make about five times their separation. The moderately bright star you land on is Polaris, the tip of the Little Dipper's handle. It is not exactly at the pole; it sits roughly three-quarters of a degree away and circles the true pole each day, which is why polar scopes have a reticle to place it precisely.
Method 1: Polar scope alignment
A polar scope is a small sighting telescope built into the mount's RA axis, with an etched reticle. It is the classic, no-computer way to polar align and is accurate enough for most beginners. Here is the routine:
- Level the tripod and set the altitude scale to your latitude.
- Rough-aim the whole mount so the polar scope points at Polaris.
- Open a polar-alignment app to see where Polaris should sit in the reticle right now (it changes with date and time).
- Use only the mount's altitude and azimuth bolts — never the tripod legs — to move Polaris onto that spot in the reticle.
- Re-check and fine-tune. When Polaris sits exactly where the app says, your RA axis is aimed at the pole.
A well-executed polar scope alignment lands you within a few arcminutes of the pole — plenty for wide-field imaging and short focal lengths, and a perfectly good starting point even if you plan to refine it with software.
Method 2: SharpCap plate-solve alignment
SharpCap's polar-alignment routine is the method most beginners switch to once they own a guide or imaging camera, because it removes all the guesswork and routinely beats a polar scope. It works by plate-solving — photographing a patch of sky near the pole, identifying the stars, then telling you exactly how far off you are in real arcminutes.
- Point the scope near the celestial pole and start SharpCap's polar-alignment tool.
- It plate-solves the first frame, then asks you to rotate the RA axis 90 degrees.
- After the second solve, SharpCap shows a live error readout and an on-screen arrow.
- Adjust the altitude and azimuth bolts until the error drops to "excellent" — typically well under 1 arcminute.
Because the correction is live and numeric, you can dial alignment as tight as you have patience for. It needs no view of Polaris itself, only a clear patch of sky near the pole, which makes it a lifesaver from a balcony or a tree-blocked yard.
Method 3: ASIAIR all-sky polar alignment
If you image with a ZWO ASIAIR, its all-sky polar alignment is the fastest routine of all and does not even need the pole in view. You aim the scope at almost any reasonably high patch of sky, tap "start," and the ASIAIR plate-solves, slews, solves again, and then shows an error figure with adjustment arrows.
- Point the scope at a clear area of sky, ideally 30–60 degrees up.
- Start the all-sky polar-alignment routine; let it solve and slew automatically.
- Adjust the altitude and azimuth bolts to walk the error down to a few arcseconds.
This is why "asiair polar alignment" is one of the most searched setups in the hobby — it turns a fiddly skill into a two-minute task. The same idea appears in other controllers (NINA's Three Point Polar Alignment, for example), but the ASIAIR made it mainstream.
Method 4: Drift alignment
Drift alignment is the oldest and, done patiently, the most accurate method. It needs no polar scope and no view of the pole at all — only a camera and time. You watch how a star drifts and adjust the mount to cancel that drift. Modern tools like PHD2's Drift Align routine make it far easier than the manual original.
- Point at a star near the meridian and the celestial equator; watch its north–south drift and adjust azimuth until it stops.
- Point at a star low in the east or west; watch the drift again and adjust altitude until it stops.
- Repeat both steps until neither star drifts — that is dead-on alignment.
Drift alignment is slower than the software methods, but it is free, foolproof once learned, and the fallback when nothing else is available. Many imagers use a quick SharpCap or ASIAIR alignment for speed, then confirm with a short drift check on critical nights.
Polar alignment in the Southern Hemisphere
South of the equator there is no bright "south star." The south celestial pole lies in the dim constellation Octans, and the nearest naked-eye marker, Sigma Octantis, is barely visible from light-polluted sites. That makes a polar scope harder to use and pushes most southern imagers toward plate-solve methods like SharpCap or the ASIAIR, which do not care whether a pole star exists.
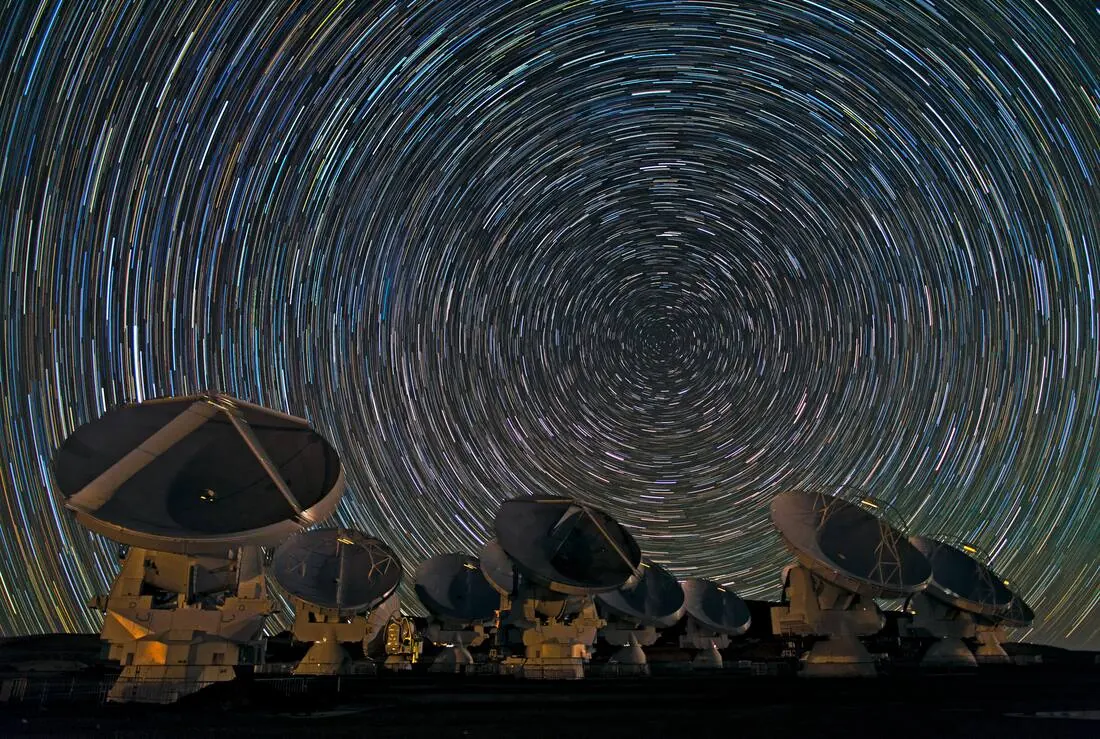
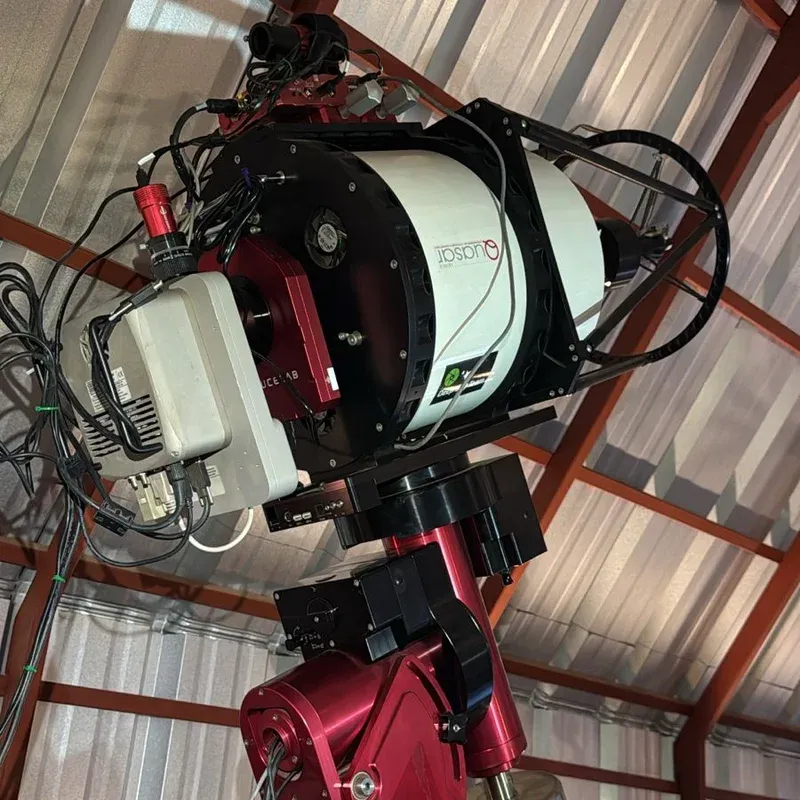
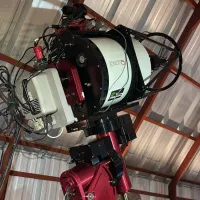
We run a remote rig under the famously dark skies of Chile, and on a permanent pier the trade-off flips: you only align once, so it is worth spending an hour drift aligning to a fraction of an arcminute and then leaving it. For a portable southern setup, a plate-solving routine you can repeat in two minutes each night is the more practical choice.
How good is "good enough"?
Perfect polar alignment does not exist, and chasing it past the point of diminishing returns wastes clear-sky time. If you autoguide, the guider corrects ongoing tracking errors, so a few arcminutes of residual error still produces round stars in the centre of the frame. What guiding cannot fix is field rotation, so on long exposures with a wide sensor you still want to be under about an arcminute.
A sensible beginner target: get within 1–2 arcminutes, start imaging, and let your autoguider handle the rest. If you are dialling in your guiding setup, our autoguider settings calculator helps you pick a guide camera and guide-scope combination that matches your imaging scale. Once round stars fill the whole frame on a 5-minute sub, your alignment is good enough — stop adjusting and start collecting photons.
Common polar alignment mistakes
- Moving the tripod legs to centre Polaris. Use only the altitude and azimuth adjusters — the legs change everything at once and you will never converge.
- Forgetting the reticle clock position. Polaris is not at the pole; if you ignore the app's position and just centre it, you can be a full degree off.
- Skipping the meridian flip check. A mount aligned for the east side may need confirming after a flip if the alignment was marginal.
- Bumping the mount afterward. Cables snagging or a knock while attaching gear can undo a careful alignment — align after the rig is fully loaded.
- Over-tightening one axis. Final lock-downs can nudge the alignment; tighten gently and re-check the error readout.
Frequently asked questions
How important is polar alignment for astrophotography?
It is the single most important setup step for long-exposure deep-sky imaging. Without accurate polar alignment your stars trail and the field rotates, and no amount of processing can recover the lost sharpness.
Can you do astrophotography without polar alignment?
Yes, for short exposures. Planetary and lunar imaging use very fast frames where tracking barely matters, and untracked nightscapes work with exposures of a few seconds. But any long-exposure deep-sky photography on an equatorial mount needs polar alignment.
How long does polar alignment take?
With an ASIAIR or SharpCap routine, two to five minutes once you have practised. A careful polar-scope alignment takes five to ten minutes, and a full drift alignment can take twenty minutes or more — which is why most people reserve it for permanent setups.
Do you need to polar align every night?
Yes, if you pack the mount away between sessions — every new setup needs a fresh alignment. A permanently mounted rig on a pier only needs aligning once, then occasional checks.
What is the difference between polar alignment and star alignment?
Polar alignment physically aims the mount's axis at the pole so it tracks correctly. Star alignment (or a "go-to" alignment) teaches the mount's computer where it is pointing so it can find targets. You need polar alignment for tracking and star alignment for go-to — they are separate steps.
Next steps
Polar alignment is the foundation every other imaging skill stands on. Once your mount is tracking cleanly, the next things to master are focusing, autoguiding, and framing your target. For the bigger picture and where this fits, start with our essential astrophotography fundamentals guide, and when you are ready to plan a shot, the telescope field of view simulator shows exactly how your target will frame up. Nail alignment first, and every night after gets easier.
Written by Hamza Touhami, an astrophotographer since 2008 who operates a remote imaging rig under the dark skies of Deepsky Chile.
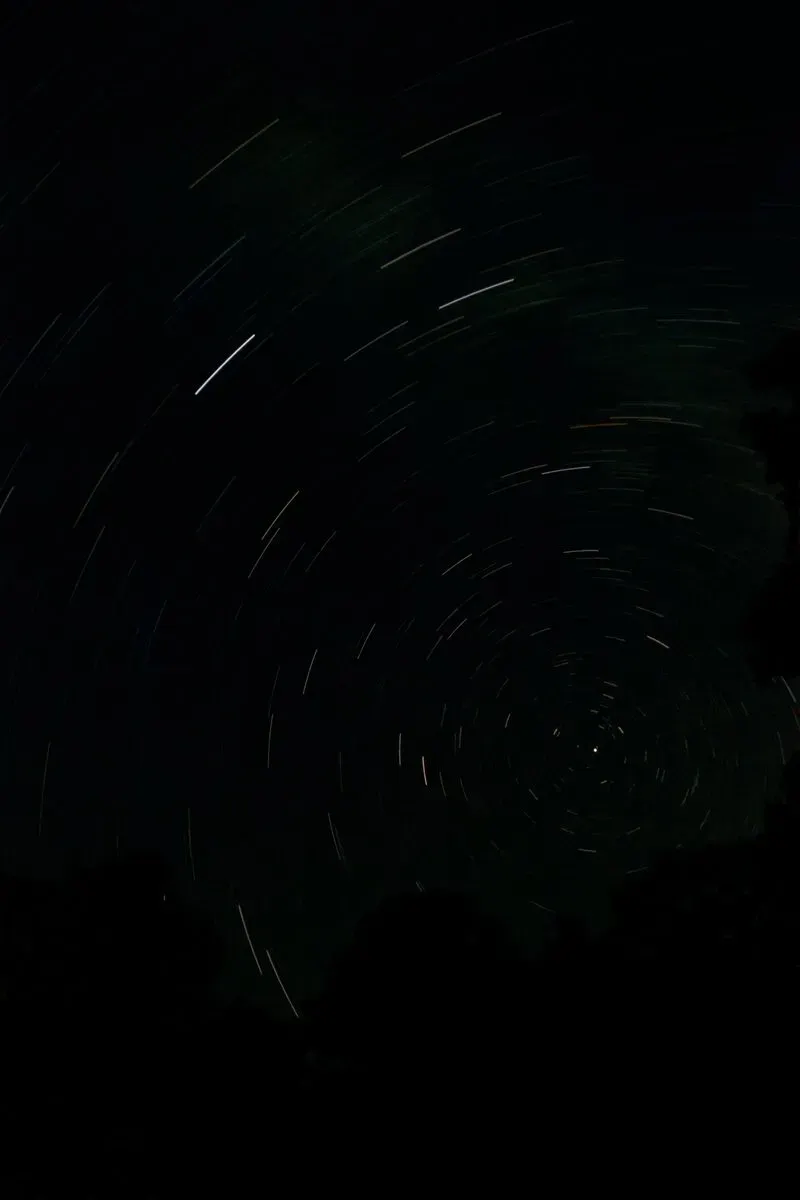
Featured image: star trails around Polaris. Credit: Kevin Hadley, CC BY-SA 3.0, via Wikimedia Commons.