Autoguiding is using a second small camera to watch a star and send tiny correction signals to your mount, keeping your target locked in exactly the same spot for minutes at a time. It corrects the small tracking errors that even a well-aligned mount makes, so your stars stay as pinpoints through long exposures instead of drifting into streaks.
Autoguiding is the step that unlocks serious deep-sky imaging. Once you can reliably take 3, 5, or 10-minute sub-exposures without trailing, faint galaxies and nebulae come within reach. This beginner's guide explains what autoguiding is, why even good polar alignment is not enough on its own, the gear you need, and how to get guiding for the first time with the free software almost everyone starts on.
What this guide covers
What is autoguiding?
Autoguiding is a closed feedback loop for your mount. A small guide camera stares at a single star many times a minute. Software measures whether that star has drifted even a fraction of a pixel, and if it has, it tells the mount to nudge back. The result is tracking far more accurate than the mount can manage on its own — accurate enough for long exposures at long focal lengths.
Why you need it even with good alignment
Good polar alignment gets your mount pointed at the pole, but two errors remain. The first is periodic error: every mount's gears have tiny machining imperfections that make tracking speed up and slow down slightly over each worm cycle, smearing stars. The second is residual drift from imperfect alignment, flexure, or wind. Autoguiding measures and cancels all of these in real time.
This is why alignment and guiding work together rather than competing. Polar alignment reduces how hard the guider has to work; the guider mops up everything alignment leaves behind. The better your alignment, the smoother your guiding — but on most affordable mounts, you simply cannot take long exposures without a guider, no matter how perfect the alignment.
What gear you need to autoguide
- A guide camera. A small, sensitive mono camera — often a dedicated guide cam with a tiny sensor.
- A guide scope or off-axis guider. Something to give the guide camera a view of the stars (more on the choice below).
- A way to send corrections. Either an ST4 cable to the mount's guide port, or a "pulse guide" connection through the mount's computer link — most modern setups use the latter.
- A controller. A laptop running free software like PHD2, or a standalone device such as a ZWO ASIAIR that runs the guiding for you.
You do not need expensive equipment to start. A modest guide scope and an entry-level guide camera handle most beginner rigs. Our autoguider settings calculator helps you match a guide camera and guide scope to your main imaging scale so you do not over- or under-buy.
Guide scope vs off-axis guider
There are two ways to feed your guide camera. A guide scope is a small separate telescope mounted on top of your main scope — cheap, simple, and perfect for short and medium focal lengths. An off-axis guider (OAG) sits in your main imaging train and steals a little light from the edge of the main scope's own view, so the guider sees exactly what the camera sees.
For beginners and most refractors, a guide scope is the easy choice. The moment you move to long focal lengths — say a big SCT or Ritchey-Chrétien at 1,500 mm and beyond — an OAG becomes worth the extra fiddle, because it eliminates "differential flexure," the slow relative sag between two separate scopes that ruins long exposures even when the guide graph looks perfect.
How autoguiding works
- The guide camera takes a short exposure and the software picks a guide star.
- It records that star's exact position as the reference.
- Every couple of seconds it re-measures the star and calculates any drift.
- If the star has moved, it sends a correction pulse to the mount in right ascension, declination, or both.
- The loop repeats all night, holding the star — and therefore your target — locked in place.
Setting up PHD2 for the first time
PHD2 is the free, open-source program that the majority of imagers learn on, and its "new profile" wizard walks you through the hardware. The first-night routine is short:
- Connect your guide camera and mount in the wizard and enter your guide scope's focal length.
- Focus the guide camera on the stars (a one-time job).
- Click the loop button, pick a medium-brightness star, and press guide.
- PHD2 calibrates by pushing the mount in each direction, then begins guiding automatically.
- Watch the graph: you want a flat-ish wandering line, not big swings.
Do not chase a perfectly flat line on night one. Get it guiding, take a test exposure, and confirm your stars are round. Refinement — adjusting aggressiveness, balancing the mount, tuning your sub-exposure length — comes later.
What counts as good guiding?
Guiding accuracy is reported as a total RMS error in arcseconds. As a rough guide, under 1 arcsecond RMS is good, and under 0.5 arcsecond is excellent. But the number only matters relative to your image scale: if each pixel covers 2 arcseconds, then 1 arcsecond of error is only half a pixel and your stars stay tight.
That is why you should judge guiding against your own setup, not a leaderboard. If you are unsure what your image scale is, our explainer on pixel scale in arcseconds per pixel shows how to work it out. Match your guiding to your scale and you will know when "good enough" has arrived — usually the moment your stars are round and you should stop tweaking and start collecting data.
Dithering: why guiding does more than tracking
Autoguiding quietly enables one of the most useful tricks in deep-sky imaging: dithering. Between each sub-exposure, the guider deliberately shifts the whole frame by a few pixels in a random direction, then settles and resumes. Because your target lands on slightly different pixels each time, stacking software can reject sensor noise, hot pixels, and fixed-pattern artefacts that would otherwise streak through your final image.
You cannot dither reliably without a guider telling the mount exactly how far it moved and confirming it settled. This is a big reason guided rigs produce cleaner results than unguided ones, beyond just longer exposures — dithered, guided data stacks far more smoothly. Most capture software lets you set a dither every frame or every few frames, and it costs only a few seconds of settling time per sub.
What calibration actually does
Before guiding begins, the software calibrates by pushing the mount a known amount in each direction and watching how far, and in which direction on the sensor, the guide star moves. This teaches it the relationship between "send a correction" and "star moves here," accounting for your camera's orientation and the mount's response. You only need to calibrate once near the start of a session, ideally near the celestial equator where mount movements are largest and easiest to measure.
If calibration fails, the cause is almost always a guide star that is too faint, a loose cable, or pointing too near the pole where movements look tiny. Pick a richer star field nearer the equator and try again. Once calibrated, modern software can reuse that calibration as you slew around the sky, so you rarely repeat it during a night.
How long can you expose without a guider?
This depends on your mount and focal length. A well-aligned star tracker with a wide lens might manage one to two minutes before stars trail. A mid-range equatorial mount at 500 mm often tops out around 60 to 90 seconds unguided. Push to a long telescope at 1,000 mm or more and unguided exposures of even 30 seconds can show trailing from periodic error alone.
The fix is not always longer single frames, though. You can stack many short unguided exposures instead, which works well for bright targets. But to reach faint detail efficiently you want longer subs, and that is exactly where guiding pays off. Our ideal sub-exposure calculator helps you decide how long each frame should be once guiding lets you choose freely.
Multi-star guiding and modern improvements
Recent versions of PHD2 and most controllers now offer multi-star guiding, which tracks several stars at once instead of relying on a single one. Averaging many stars cancels out the random jitter of any one star caused by seeing, producing a smoother, more stable guide signal — often a noticeable improvement for free, just by enabling it. It also means losing one star to a passing cloud no longer stops your session.
Pair multi-star guiding with a well-balanced mount and a sensible exposure on the guide camera (typically one to three seconds), and most beginners reach solidly round stars without deep tuning. Save the advanced settings for later — getting the fundamentals right delivers the biggest gains first.
Common autoguiding problems
- Calibration fails. Usually a star too faint, a cable not connected, or the scope pointed too close to the pole — calibrate near the celestial equator.
- Stars trail despite a good graph. The classic sign of differential flexure; tighten everything or move to an off-axis guider.
- Guiding oscillates. Aggressiveness set too high, or backlash in declination — reduce aggressiveness and check mount balance.
- Lost guide star. Clouds, dew on the guide scope, or a too-short exposure on a faint star.
- Erratic spikes. Wind, an unbalanced mount, or someone walking on a wooden deck near the tripod.
Balance your mount before you guide
The biggest free improvement to your guiding is not a software setting — it is mechanical balance. A mount that is balanced in both axes lets the motors make small, even corrections; an unbalanced mount fights gravity on one side and slips on the other, producing the jerky, oscillating guide graphs that frustrate beginners.
Balance the right-ascension axis first by sliding the counterweights until the scope stays put with the clutch loose, then balance declination by adjusting the scope fore and aft in its rings. Many imagers deliberately leave a tiny imbalance so the gears always load against one side, which removes backlash. Get balance right and a modest mount will often out-guide an expensive one that is set up carelessly. It costs nothing and takes two minutes.
Frequently asked questions
Do I need autoguiding for astrophotography?
Not for short exposures or wide-field work on a star tracker, but yes for long-exposure deep-sky imaging at any real focal length. Most affordable mounts cannot track accurately enough beyond a minute or two without a guider.
What is a good guiding RMS error?
Under 1 arcsecond total RMS is good for most setups and under 0.5 is excellent, but what really matters is keeping the error well below your image scale so stars stay round.
Guide scope or off-axis guider — which is better?
A guide scope is simpler and cheaper and ideal up to medium focal lengths. An off-axis guider is better at long focal lengths because it removes differential flexure between two separate scopes.
Can I autoguide without a computer?
Yes. Standalone controllers like the ZWO ASIAIR run the guiding themselves, and some older mounts accept a self-contained guider. But a laptop running PHD2 remains the most flexible and popular way to start.
Why are my stars still trailing when guiding looks good?
Almost always differential flexure — the guide scope and main scope shifting slightly relative to each other. Tighten every connection, or switch to an off-axis guider that shares the main optical path.
Next steps
Autoguiding is the bridge between snapshots and real deep-sky images. With your mount aligned, focused, and guiding, the last setup skill is finding and framing your target. See the full beginner path in our essential astrophotography fundamentals guide, and size up a guide camera and scope with the autoguider settings calculator before you buy.
Written by Hamza Touhami, an astrophotographer since 2008 who operates a remote imaging rig under the dark skies of Deepsky Chile.
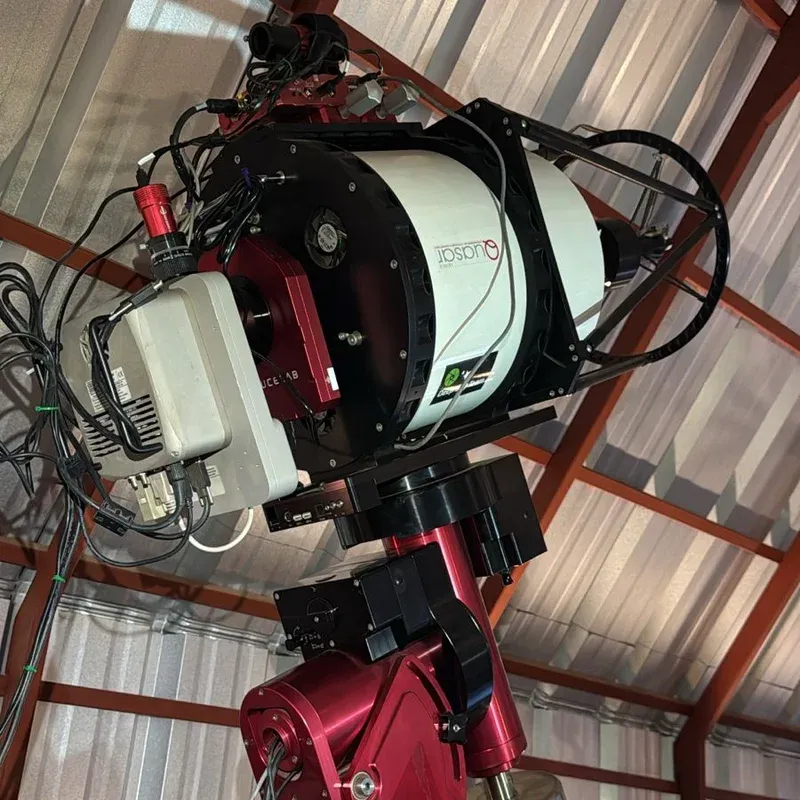
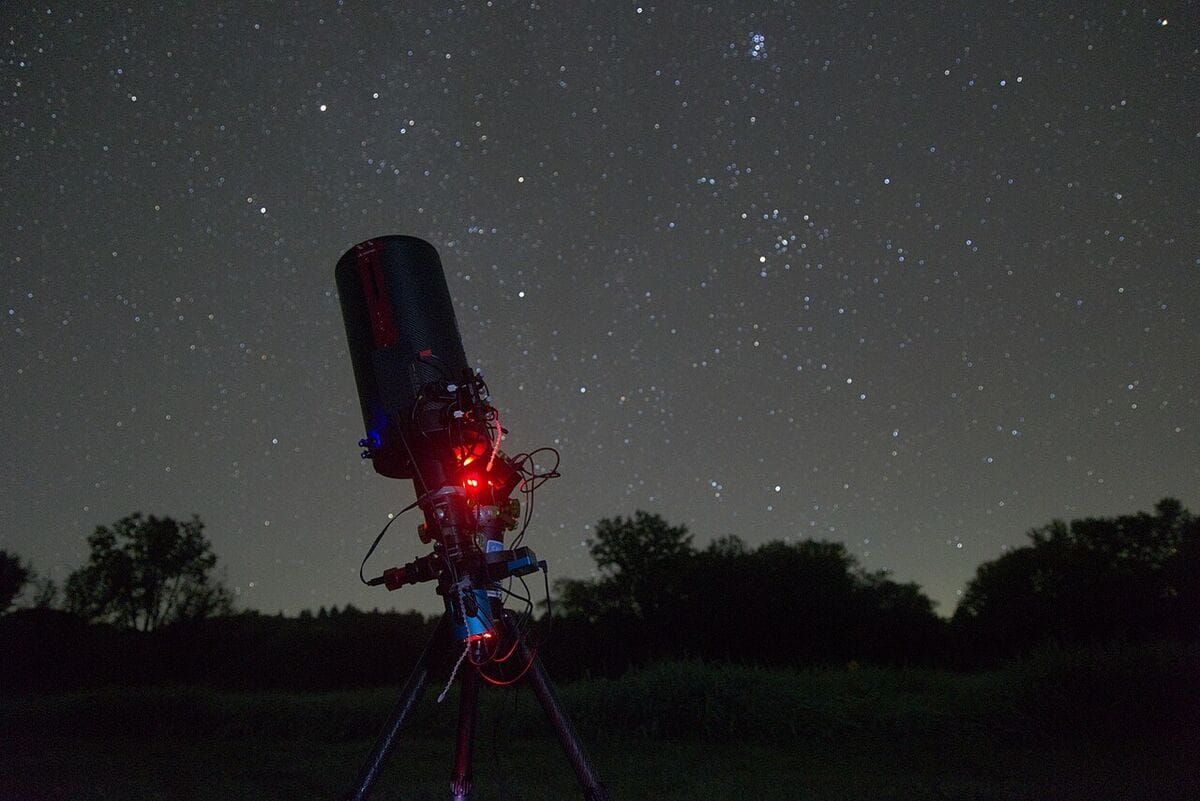
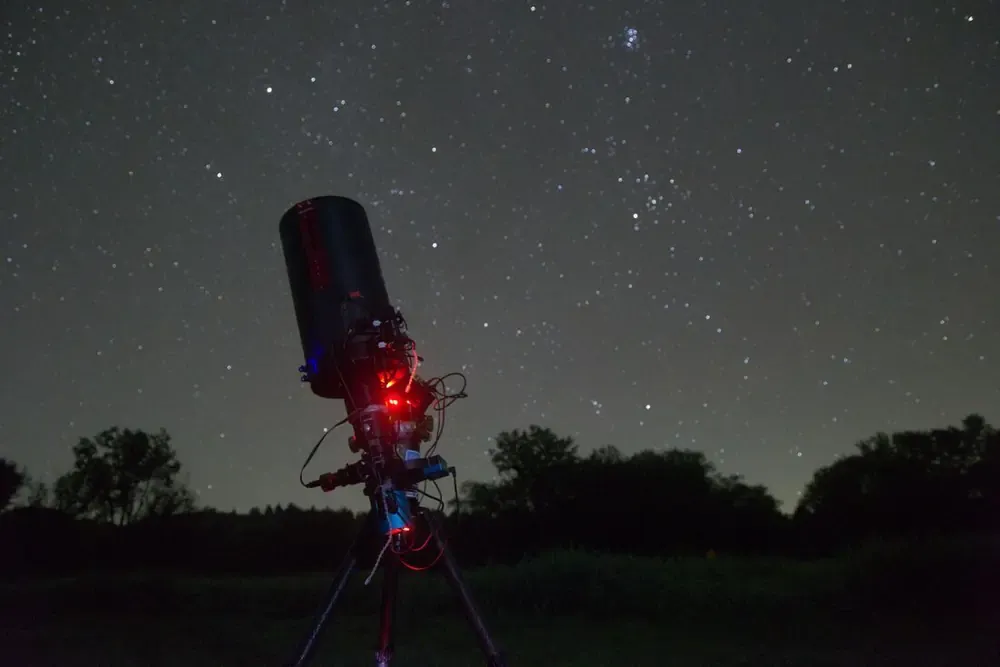
Featured image: a deep-sky imaging rig under the stars. Credit: Brainandforce, CC BY 4.0, via Wikimedia Commons.