Two things limit how sharp your astrophotos can be: your telescope's resolution — the finest detail its optics can separate, set by aperture — and astronomical seeing, the blurring caused by our turbulent atmosphere. On most nights, seeing is the real bottleneck, which is why a modest scope under steady skies can out-resolve a giant one under bad air.
Every astrophotographer eventually asks the same question: why isn't my image sharper? You focused carefully, guided accurately, and stacked dozens of frames — yet fine detail still looks soft. The answer almost always comes down to two hard ceilings. One is fixed by physics and your telescope's aperture. The other changes hour to hour with the weather. Understanding both — telescope resolution and astronomical seeing — tells you what's actually achievable on a given night, and stops you chasing sharpness that the sky will never allow.
This guide explains where the limits come from, how to calculate them, how to measure the seeing, and how to squeeze the most resolution out of whatever conditions you have.
What Limits the Sharpness of an Astrophoto?
Think of sharpness as being capped by two independent lids, and your image can only be as good as the lower one:
- The optical limit — how finely your telescope can resolve, determined by its aperture and the wavelength of light. This is fixed and predictable.
- The atmospheric limit — how much the air above you smears starlight before it reaches the scope. This is variable and usually worse than the optical limit.
A 4-inch refractor might be able to resolve detail as fine as 1.1 arcseconds, but if the atmosphere is only steady enough to deliver 3-arcsecond stars that night, you get 3-arcsecond results. Adding aperture won't help until the air improves. Recognizing which lid you are hitting is the key skill.
Telescope Resolution — The Optical Limit
Resolution is a telescope's ability to separate two objects that are very close together — like the two stars of a tight double, or fine banding on a planet. It is measured as an angle, in arcseconds (there are 3,600 arcseconds in one degree). Smaller numbers mean finer detail.
The Diffraction Limit
Light is a wave, so even a perfect lens or mirror cannot focus a star to an infinitely small point. It focuses to a tiny disk of light surrounded by faint rings — the Airy disk. The size of that disk sets the ultimate limit, and it depends on only two things: the wavelength of light and the diameter of your aperture. Larger apertures produce smaller Airy disks and therefore finer resolution. This is the diffraction limit, and no amount of magnification can beat it.
Because the effect depends on wavelength, shorter (bluer) light resolves slightly finer detail than longer (red) light through the same aperture — one reason planetary imagers often prize the blue channel for capturing crisp surface features. It also means the resolution figures below are quoted for typical green-yellow visual light, the band our eyes and most sensors weight most heavily.
The Dawes Limit and Rayleigh Criterion
Two simple formulas turn aperture into a resolution number. The Dawes limit, based on real observations of double stars, is:
- Resolution (arcseconds) = 116 ÷ aperture in millimeters (or 4.56 ÷ aperture in inches).
So a 100 mm (4-inch) telescope resolves about 1.16 arcseconds; a 200 mm (8-inch) resolves about 0.58 arcseconds; and a 317 mm (12.5-inch) astrograph reaches roughly 0.37 arcseconds. The related Rayleigh criterion (138 ÷ mm) is slightly more conservative. Both say the same thing: double the aperture, halve the finest detail you can capture. This is the same angular-resolution physics that governs every optical instrument, from a camera lens to the Hubble Space Telescope.
| Aperture | Dawes limit (arcseconds) | Seeing usually the limit? |
|---|---|---|
| 80 mm (3.1") | 1.45 | Only in poor seeing |
| 100 mm (4") | 1.16 | Sometimes |
| 150 mm (6") | 0.77 | Usually |
| 200 mm (8") | 0.58 | Almost always |
| 250 mm (10") | 0.46 | Almost always |
| 317 mm (12.5") | 0.37 | Except at premium sites |
The right-hand column is the reality check: for anything above about 150 mm, the sky — not the glass — sets your sharpness on a typical night.
Why Bigger Aperture Resolves Finer Detail
Aperture does two jobs at once. It gathers more light — a brighter image — and it shrinks the Airy disk, which sharpens detail. That is why serious deep-sky and planetary imagers favor large apertures. But there is a catch, and its name is the atmosphere.
Resolution Is Not the Same as Magnification
Beginners often assume more magnification means more detail. It does not. Magnification only enlarges the detail your aperture has already resolved — it cannot create detail that isn't there. Push past your telescope's resolving power and you get empty magnification: a bigger, dimmer, blurrier image with no extra information.
A useful rule of thumb caps maximum useful magnification at roughly 50× per inch of aperture (about 2× the aperture in millimeters). A 100 mm scope tops out near 200×; beyond that you are just enlarging blur. And on a night of average seeing, the atmosphere will hold you well below even that ceiling. Resolution is the real currency of sharpness; magnification is only how you display it.
Astronomical Seeing — The Atmospheric Limit
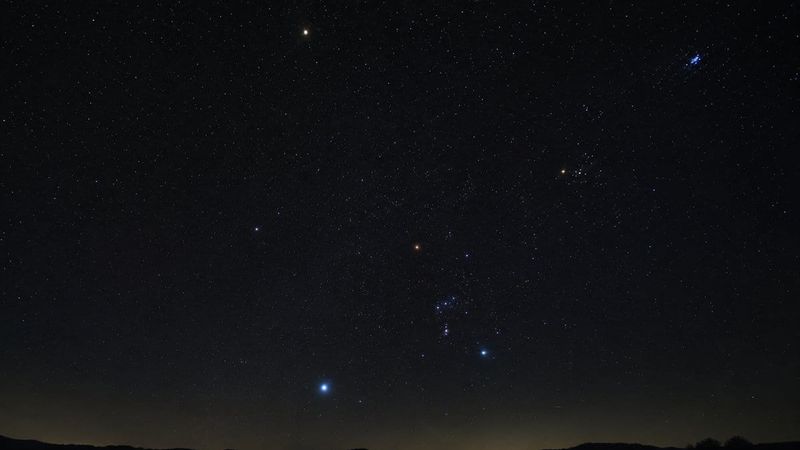
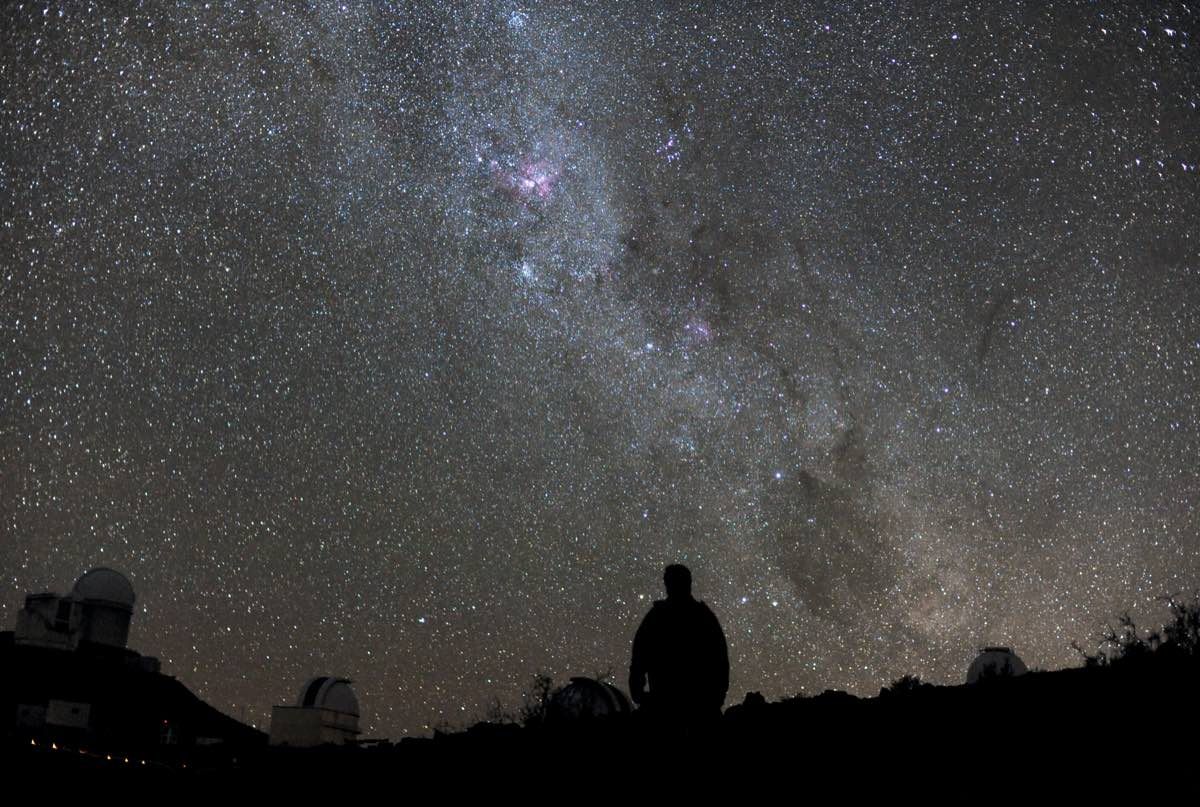
Astronomical seeing describes how much the atmosphere blurs and shimmers starlight. When you watch a star twinkle with the naked eye, you are watching seeing in action. Through a telescope, that twinkle becomes a boiling, dancing blob instead of a crisp point — and it caps the resolution of every image you take.
What Causes Poor Seeing
Seeing comes from turbulence — pockets of air at different temperatures bending light by tiny, shifting amounts. It has several sources:
- High-altitude turbulence, especially near the jet stream, which few sites escape.
- Local thermals — heat rising off rooftops, pavement, and even your own telescope tube as it cools.
- Ground-layer turbulence within the first few meters of the surface, often the worst offender in a backyard.
How Seeing Is Measured
Seeing is quantified as the full width at half maximum (FWHM) of a star's image, in arcseconds — essentially how fat the blurred star appears. Observers also use descriptive scales like the Pickering scale (1 to 10) or the Antoniadi scale (I to V). Most capture and analysis software reports FWHM directly, so you can watch the number rise and fall through a session.
Typical Seeing Values
For most backyard locations, seeing runs between about 2 and 4 arcseconds. Under 2 arcseconds is a good night; under 1 arcsecond is excellent and rare, reserved for high, dry, professional-grade sites. Compare those numbers to the Dawes limits above and the problem is obvious: on a 3-arcsecond night, anything larger than a 40 mm aperture is already limited by the sky, not the optics.
Seeing also depends on where you point. A target low on the horizon is viewed through far more turbulent air than one overhead — at 30° altitude you look through roughly twice the atmosphere you face at the zenith, a quantity astronomers call air mass. The same star can be a soft blob near the horizon and a tight point an hour later when it climbs higher. Imaging objects when they are near the meridian, at their highest, is one of the easiest ways to gain sharpness for free.
When Seeing Beats Aperture
This is the counterintuitive heart of the subject. Beyond roughly 150–200 mm of aperture, most nights the atmosphere — not your telescope — decides your resolution. A superb 12-inch scope in mediocre seeing delivers softer detail than a good 4-inch refractor on a rock-steady night. Aperture still helps with light-gathering and, over many frames, with signal — but raw sharpness is handed to whoever has the better air.
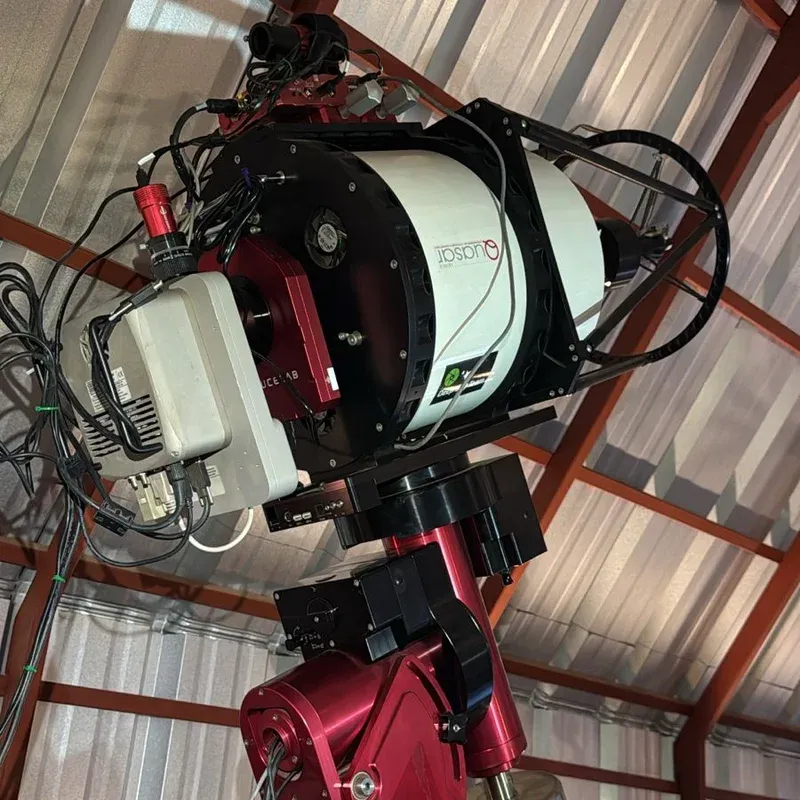
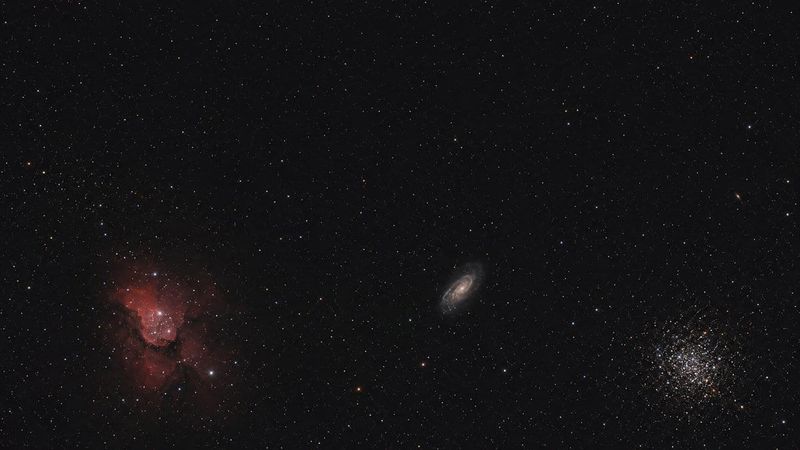
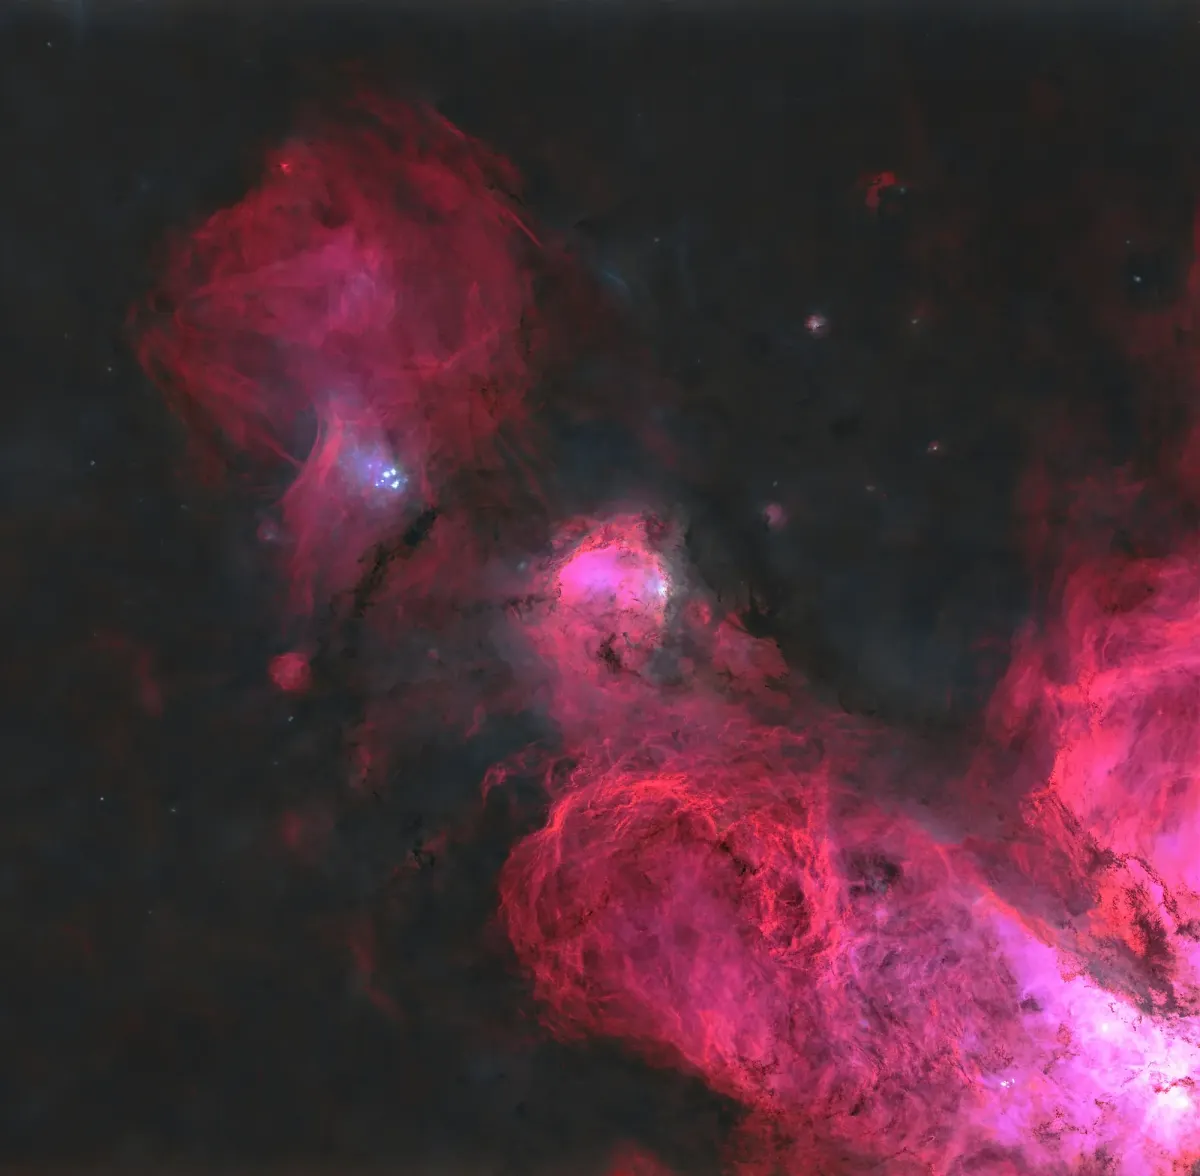
This is exactly why observatories are built on high mountains in dry climates. On our remote rig at Deepsky Chile — an Alluna 12.5-inch Ritchey–Chrétien on a Paramount MX+ — the Atacama's frequent sub-arcsecond seeing lets that aperture actually approach its ~0.37-arcsecond Dawes limit. From a typical suburban backyard, the same telescope would spend most nights capped near 3 arcseconds, wasting most of its resolving power. Site matters more than almost any piece of gear.
Sampling — Matching Your Camera to Your Optics
Even with perfect optics and steady air, your camera can throw away resolution if its pixels don't match the telescope. This is called sampling, and it is set by your pixel scale:
- Pixel scale (arcsec/pixel) = 206.265 × pixel size (µm) ÷ focal length (mm).
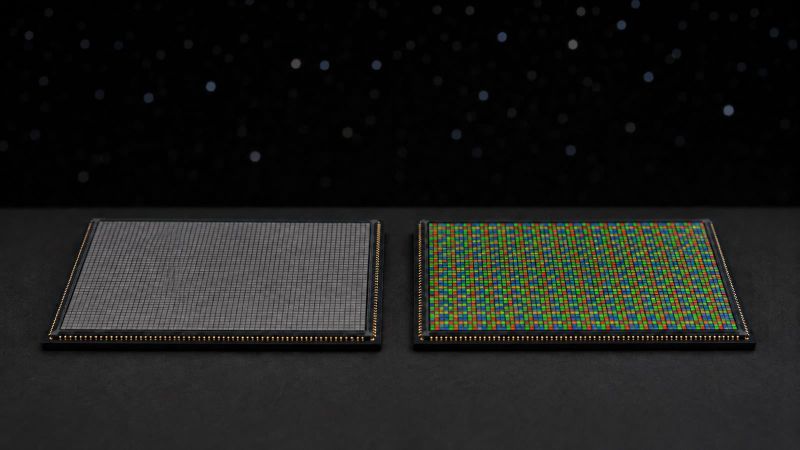
The goal is to spread the finest detail your system can deliver across two to three pixels — a rule derived from the Nyquist sampling theorem. Aim for a pixel scale of roughly one-third of your expected seeing FWHM. Too coarse (undersampled) and stars look blocky and detail is lost; too fine (oversampled) and you spread light thinly for no gain, hurting your signal. Our pixel scale guide works through the numbers for common camera-and-scope pairings, and our telescope field of view guide shows how the same focal-length choice decides how much sky you capture.
How to Get Sharper Images
You cannot control the jet stream, but you can stack the odds in your favor:
- Choose your nights. Check a seeing forecast (many use the Meteoblue "astronomy seeing" index) and image seriously when it is good.
- Let your scope cool. A warm tube generates its own turbulence; give reflectors 30–60 minutes to reach ambient temperature, and use a fan if you have one.
- Avoid heat sources. Don't shoot over a rooftop, driveway, or air-conditioning exhaust that radiates stored heat.
- Gain altitude. Higher, drier sites with smooth airflow — coasts, mountains — have steadier air than valleys and cities.
- Use lucky imaging for planets. High-speed video captures thousands of frames; software keeps only the sharpest moments when the atmosphere briefly settles, effectively beating the seeing for small, bright targets.
- Lock your focus. Resolution you can control starts with perfect focus — see our focusing guide and the critical focus zone calculator.
And once you have captured sharp data, clean it properly: good calibration frames keep noise from masquerading as lost detail in your final stretch.
Frequently Asked Questions
What is astronomical seeing in simple terms?
Astronomical seeing is the blurring of starlight caused by turbulence in Earth's atmosphere. Pockets of air at different temperatures bend light by tiny, constantly shifting amounts, so a star that should be a sharp point becomes a shimmering blob. It is the main reason ground-based images are softer than those from space.
How do I calculate my telescope's resolution?
Use the Dawes limit: divide 116 by your aperture in millimeters (or 4.56 by your aperture in inches) to get the finest detail in arcseconds. A 100 mm telescope resolves about 1.16 arcseconds. This is the optical ceiling; atmospheric seeing usually limits you to a coarser number in practice.
Does a bigger telescope always mean sharper images?
Not on most nights. Larger apertures have finer optical resolution, but beyond about 150–200 mm the atmosphere typically becomes the limiting factor. In average seeing, a smaller scope on a steady night can out-resolve a larger scope on a turbulent one. Aperture still helps with brightness and signal.
What is good seeing for astrophotography?
Seeing under 2 arcseconds FWHM is a good night for most locations, and under 1 arcsecond is excellent but rare. Typical backyard seeing is 2–4 arcseconds. Checking a seeing forecast and imaging on the steadiest nights makes a bigger difference to sharpness than most equipment upgrades.
What is the difference between resolution and seeing?
Resolution is a fixed property of your telescope's optics — the finest detail its aperture can separate. Seeing is a changing property of the atmosphere — how much the air blurs that detail before it reaches you. Your final sharpness is limited by whichever is worse, and on most nights that is the seeing.
Putting It All Together
Sharpness in astrophotography is a negotiation between your telescope and the sky. Your aperture sets a hard optical ceiling you can calculate with the Dawes limit; the atmosphere sets a softer, shifting one you measure as seeing. Match your camera's sampling to both, pick your nights, manage your local air, and you will consistently reach the resolution your equipment is truly capable of — instead of blaming the gear for limits the atmosphere imposed.
Resolution and seeing are just one piece of the capture puzzle. Continue through the Astrophotography Fundamentals series to connect focus, sampling, guiding, and calibration into a single reliable workflow.